Tempus Owners Manual

OWNERS MANUAL

WELCOME TO VENTUM

CONGRATULATIONS ON YOUR NEW VENTUM TEMPUS

Ventum stands behind the quality our bikes, engineering, and all of our products. Each item is meticulously desined in-house by our team of passionate riders. Our goal is to elevate your experience and to deliver products that can withstand all normal rugged wear and tear that comes with competing in a triathlon, running a crit series, or enjoying a long gravel road to nowhere.


If you are not satisfied with your order, contact our customer support team about our 30-day return policy or let us know how we can make Ventum better.

FAQs

Sizing

&nbsp
&nbsp

Ordering, Shipping, Warranty, & Returns

&nbsp

Lead time varies depending on the build specs and component availability. Please reach out to support@ventumracing.com for more information.

&nbsp

It can take up to 30 days to process a return or refund.

&nbsp

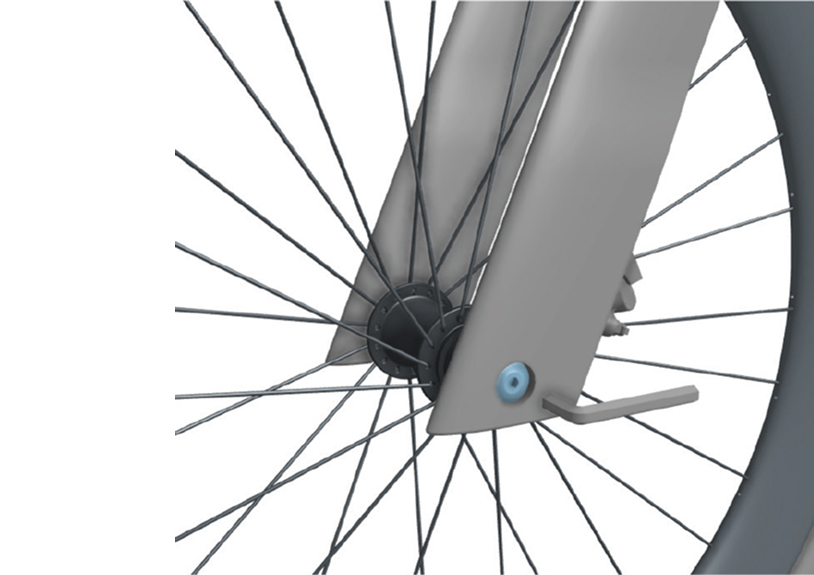
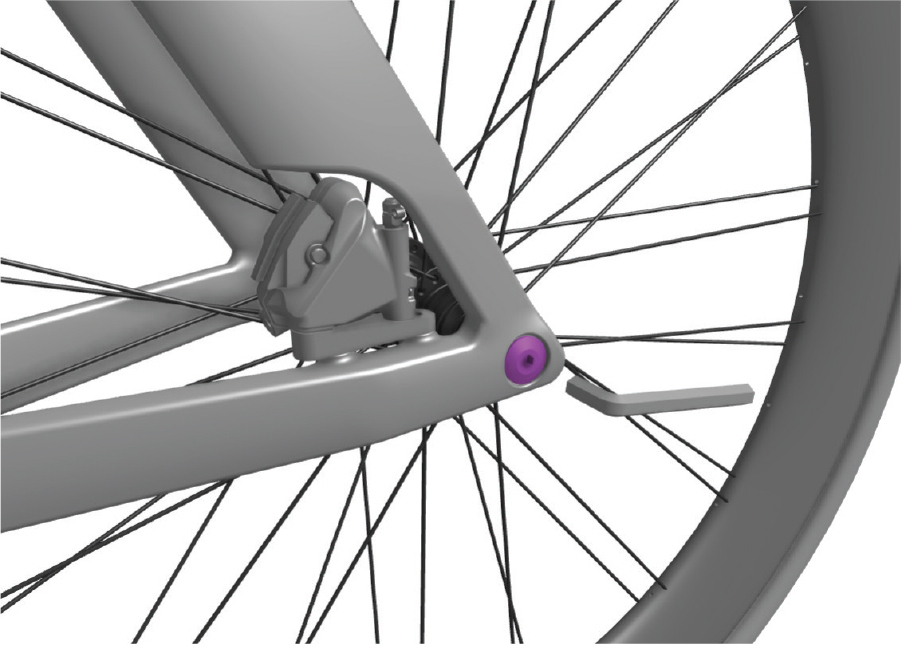
For Standard shipping in the continental US, Ventum uses a custom, oversized bike box and the bike will arrive 98% assembled*. You simply need to install the wheels and seatpost and you’ll be ready to ride. A torque wrench is required.

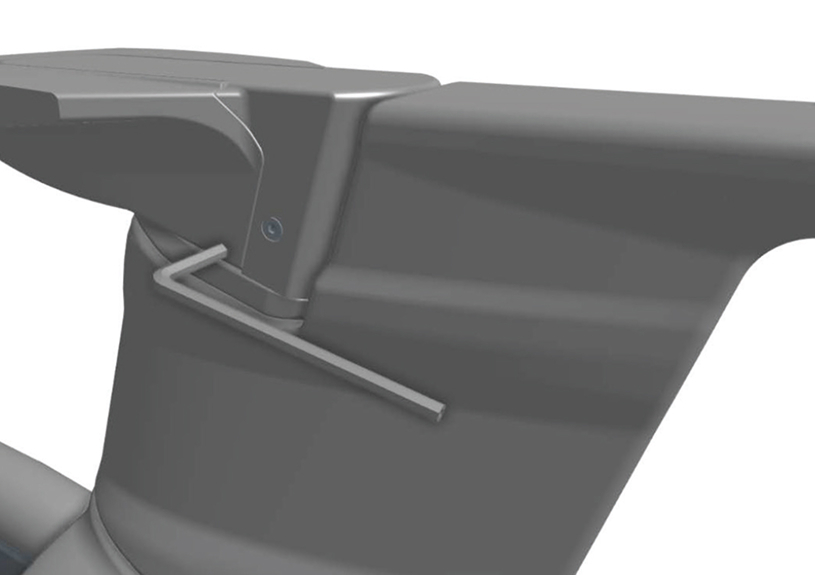
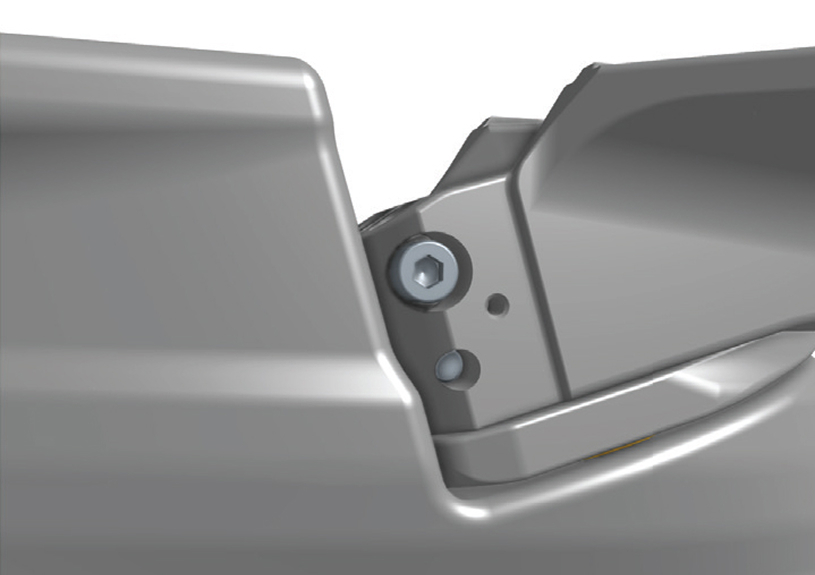
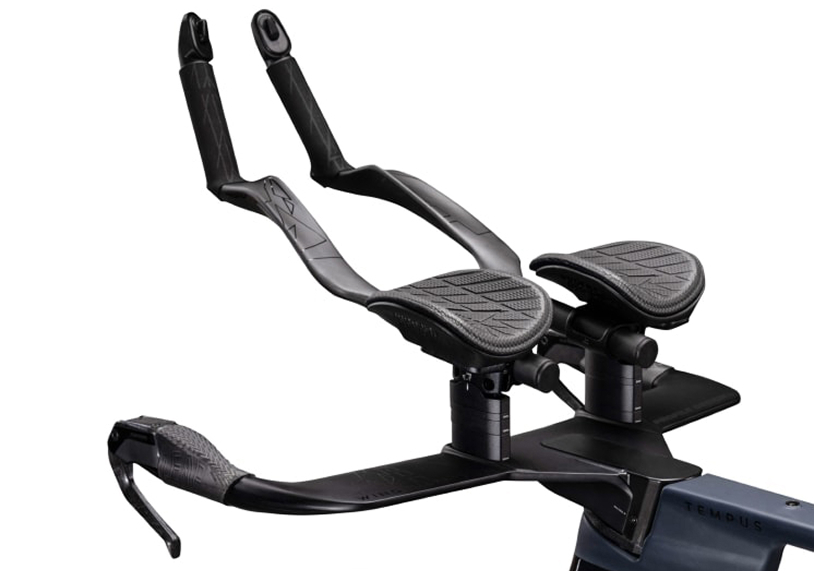
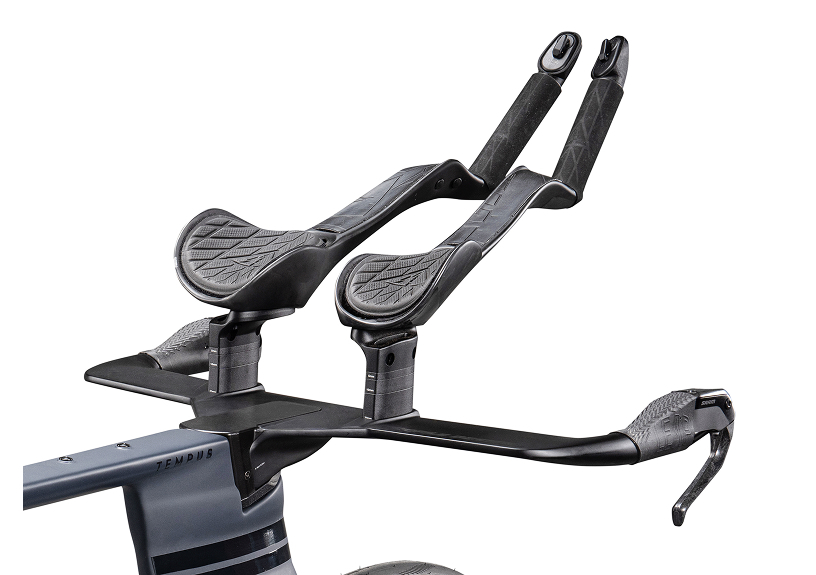
The Tempus ships slightly less assembled, as the cockpit must be uninstalled from the steerer tube for safe transit in the box.

For bikes shipped outside of the continental US, the bike will arrive 85% assembled. Upon delivery, you will need to install the wheels, seatpost, and the stem onto the steerer tube.

*Supply chain restrictions may result in bikes being shipped in a standard-size bike box, at times, requiring more assembly.

&nbsp

Financing

&nbsp

Yes, we offer financing through Klarna for most customers in the USA.

&nbsp

Prices online are listed in USD, and Ventum does ship internationally for $299.

General Product Information

&nbsp

Your frameset order will include the frame, fork, seatpost, headset assembly, and thru axles. NS1 frameset typically come with a 25mm setback seatpost, whereas the GS1 frame comes with a zero-offset (straight) seatpost. 

Ventum One Disc framesets come with the complete cockpit (base bar, aero extensions, arm pads, etc).

NS1 framesets do not include our integrated, one-piece handlebar. Those can sometimes be purchased separately if our inventory allows for it. Contact support@ventumracing.com for more information

&nbsp

Ventum does not provide quotes on bike weights, as custom builds vary immensely due to our options available to upgrade components. Please reach out to support@ventumracing.com with further questions pertaining to weight figures regarding bike builds.

&nbsp

Ventum One Disc - 28mm max (700x28C)

NS1 - Tires measuring up to 35mm in width (700x35C)

Legacy GS1 - Tires measuring up to 48mm in width (700x48C) *The GS1 can run 650b wheels, with tires measuring up to 51 mm in width

2025 GS1 - Tire clearance to700x56c in the front and 700x50c in the rear

&nbsp

All Ventum builds are set up with tubless tires and sealant.

&nbsp

The NS1 is typically equipped with 700x28C tires. The specific tire is subject to change depending on availability. Reach out to support@ventumracing.com for more information

The GS1 will be equipped with tubeless gravel tires, typically on size 700x42C. Zipp's EXPLR gravel wheels come with 700x45C tires.

&nbsp

Ventum does not offer custom paint options, but we do offer an array of color options for each bike type.

&nbsp

Please contact Ventum Support with the model and size you are looking to test and we will help set up your demo ride. If we don't have your size available in our fleet, we can recommend a local partner who does.

&nbsp

We do not build and ship bikes without wheels. The alloy training wheels are included in the cost of each bike and cannot be removed for a discount.

&nbsp

Currently, chainrings and cassettes are offered in one option for each groupset due to ongoing supply chain issues with the cycling industry.

&nbsp

Yes. Please reach out to support@ventumracing.com to request which seatpost you prefer. Ventum uses the 25mm setback seatpost by default on NS1s, and zero-setback posts on GS1s. NS1 and GS1 seatposts are interchangeable.

&nbsp

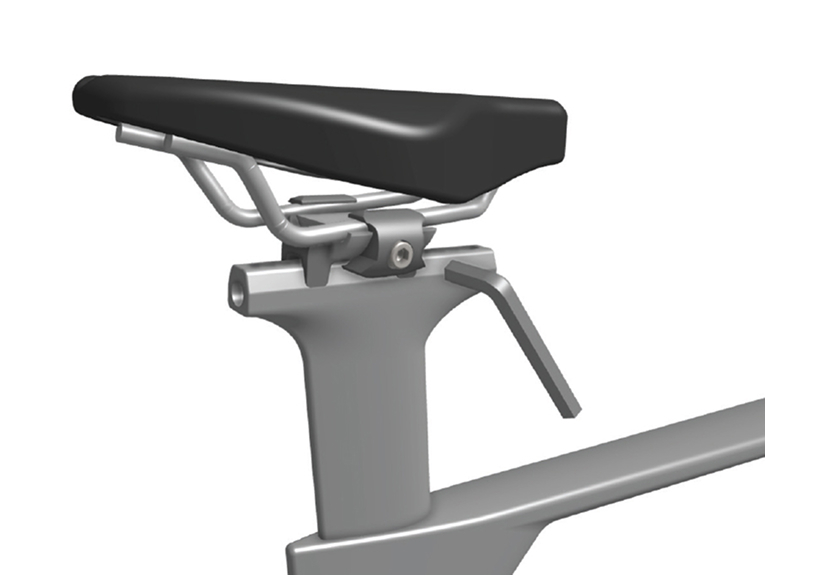
The NS1 and GS1 typically feature a Fizik Tempo Argo saddle. The Ventum One Disc uses an ISM tri-specific saddle. Specific saddle models are subject to change based on availability.

&nbsp

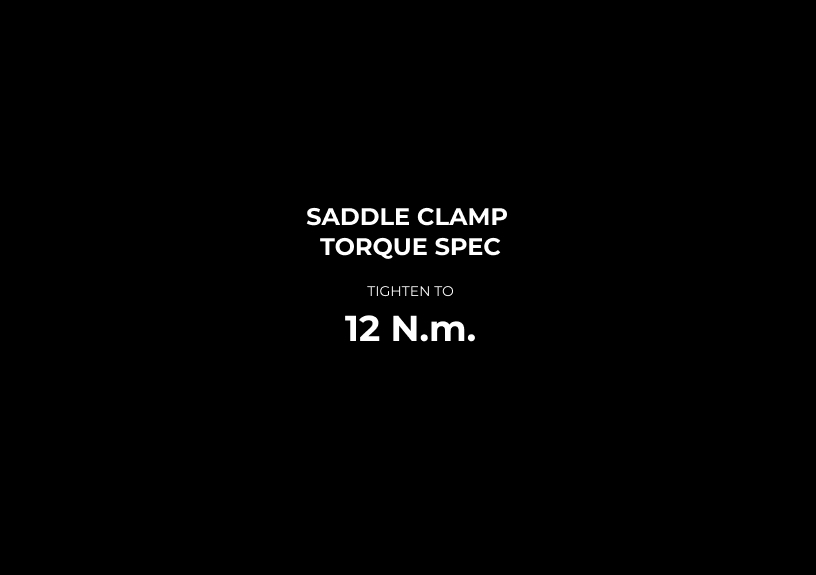
Yes. We use a Ritchey 1-bolt saddle clamp on our Ventum models. To install a carbon-railed saddle, you must purchase and install Ritchey’s 7x10 “carbon” clamp: https://ritcheylogic.com/bike/seatposts/wcs-carbon-1-bolt-seatpost-clamp

&nbsp

NS1 builds with the SRAM Rival AXS and Shimano 105 groupset are equipped with a traditional two-piece alloy handlebar and stem, and partial internal cable integration. All higher-end NS1’s builds come equipped with Ventum’s one-piece integrated carbon handlebar and stem with complete internally-routed cables.

&nbsp

Typically no, however, definitely reach out to support@ventumracing.com for more information.

&nbsp

Ventum's integrated bars, the CR2 and CR5, will require a center-mount "integrated" mount. Ventum recommends our own Ventum computer mount. Only compatible with the current (2nd Generation) Integrated bar/stem). Contact support@ventumracing.com for more information.

&nbsp

Ventum does not have any recommended clip-on aero bars, as they have not been tested with our integrated handlebar, and the aerodynamic profile of the bars may result in issues with installation and fit. Ventum recommends using a more traditional 2-piece bar and stem configuration with round bars if you’d like to use clip-on aero bars.

&nbsp

The new 12-speed Shimano power meter cranks have been difficult to source. Ultegra power meter cranks are not available at this time, however some Dura Ace power meters might be available for an additional cost. Reach out to support@ventumracing.com for more information

&nbsp

Ventum does not offer this as an upgrade option. However, the Sram Rival power meter upgrade kit can be purchased separately from bike retailers.

&nbsp

The sizes of these items are typically determined by your frame size, and are subject to change, based on availability. Reach out to support@ventumracing.com to request specific sizes, which we’ll install provided that they’re in stock when your bike is built.

bike

ASSEMBLY FAQ’S

Engineered over thousands of hours, rooted in a decade of feedback from some of the best athletes in the world, and proven in real-world testing, it’s the bike you want for the days when going excruciatingly fast is the only priority - for when you’re driven to not just beat your personal best, but also everyone else.

This document will guide you through the process of setting up your new bike and getting out on the road. Of course, if you have any questions or if we can be of assistance in any way, please contact the Ventum Concierge team at support@ventumracing.com.

UNBOXING & ASSEMBLY

LETS GET YOU SETUP IN THE SADDLE

What's Covered Here

  • Frame Diagram
  • Seat Post
  • Saddle Clamp
  • Thru Axles
  • Stem And Headset
  • Cockpit And Extensions

FRAME DIAGRAM

Please carefully inspect the image. It gives you a thorough break down of the names of the tubes that the frame/fork consist of and the components that this bike uses. Please refer back to this image as needed.

ASSEMBLY - SEAT POST OPERATION

Access the seat post clamp on the underside of the frame. Tighten to 6Nm with a torque wrench. 


Carbon pate is not required but may help prevent seat post slipping. If used, apply a small amount of carbon paste to the back and sides of the seat post only. 


Ensure a minimum seat post insertion depth of 10cm. It may be necessary to cut excess seat post length on smaller frames to achieve your desired saddle height. 

ASSEMBLY - SADDLE CLAMP OPERATION

To adjust the position your saddle, loosen the 5mm bolt on the clamp. Once your saddle position is achieved, torque the 5mm clamp bolt to 12 Nm using a torque wrench. 


Ventum’s stock saddle clamp only accepts round, alloy saddle rails. Saddles with oversized or oval carbon rails require Ritchey’s 7x10mm clamp assembly. This clamp works on all saddles with carbon rails ranging from 7x9mm through 7x10mm. (Ritchey part No. 55055467003) 

ASSEMBLY - THRU AXLES

Using a 6mm hex extension on a torque wrench, tighten both thru axles to 10Nm. Do not attempt to adjust the rear thru axle on the driveside of the bike. If you experience brake rotor rub, the thru axles may not be torqued properly

ASSEMBLY - STEM & HEADSET OPERATION

To access your stem and headset, remove the plastic stem cover by removing the 2mm bolts on either side of the cover.


To tighten your headset, first loosen the 4mm stem pinch bolts. Tighten the stem top cap bolt while pulling the front brake lever and rocking the bike back and forth. Stop tightening the top bolt once play in the headset is corrected. Using a 4mm hex extension on a torque wrench, tighten the stem pinch bolts evenly to 5 Nm.

COCKPIT AND EXTENSIONS - ASC PRO / ASC 52 CARBON

ASC PRO EXTENSIONS - The Profile Design 52A alloy extensions feature up to 70mm of vertical pad stack adjustability, up to 15 degrees of positive tilt, and up to 40mm of fore/aft adjustment. See Profile Designs documentation for more information.


ASC 52 CARBON EXTENSIONS - The Profile Design ASC 52 Carbon extensions feature up to 70mm of vertical pad stack adjustability, up to 15 degrees of positive tilt, and up to 40mm of fore/aft adjustment. See Profile Designs documentation for more information.

FINAL CHECKS AND ROAD TEST


  1. Then check the tire pressure and inflate as per the manufacturer’s recommendation.
  2. Then check the tire pressure and inflate as per the manufacturer’s recommendation.
  3. Adjust the saddle height as necessary, and torque the seatpost clamp bolt to 6 N.m using a torque wrench. Ensure the seat post minimum insertion depth of 10cm is achieved.
  4. Put on your shoes and helmet and take your new bike out for a road test. Always wear a helmet when you ride your bicycle.
  5. Check the operation of the brakes, derailleurs, and steering.

WARNING: FAILURE TO FOLLOW THESE INSTRUCTIONS COULD LEAD TO SERIOUS INJURY OR DEATH.
 

VENTUM BICYCLE WARRANTY

We offer a lifetime warranty on our frame, fork, and seatpost to the original owner which covers against defects in materials and workmanship. All bike purchases need to be registered within 30 days of receipt of purchase to activate the warranty plan. All components are covered by Ventum within 30 days of receipt of the bike. After 30 days, components are covered by the manufacturers' own warranties. All paints and decals are covered for one year from the date of purchase and does not include normal wear and tear.

What Isn't Covered

The Ventum warranty does not cover issues that arise from the following: incorrect assembly after receipt of delivery; incorrect or poor maintenance; accessories and parts that are installed on the bike but are not intended for use with the bike; accidents, neglect, misuse, or modification to the frame; normal wear and tear; modification to the frame or materials; UV damage, corrosion, or the use of incorrect cleaning products.

Crash Replacement

In the event of an accident we offer a crash replacement at a significantly reduced rate to get you back out and riding again. This replacement is for damage that occurs to the frame during riding and does not include cosmetic damage. This offer is valid for up to 5 years and is only available to the original owner, with proof of purchase.


Coverage period is based on the purchase date of the original product. The period does not start over when a product is replaced. If your product needs to be replaced and we no longer have it in stock, we’ll try our best to find you the most similar product available. Ventum will not incur shipping or labor costs associated with crash replacement. You will need to send the damaged product back to us before we send out the new product.